Drawing cute creatures with beans
After feeling pretty disappointed by the first creature course, I was excited after watching the introduction to ‘Designing Fun Animal Characters’ by Rodgon. His approach made sense to me right from the start.
- Figure out the stand out physical features of a creature
- Work from a simple base
- Put those stand out features on the simple base
After enjoying my tiny goat lesson from earlier in the year, I was hype to get back to drawing animals again.
Creature features
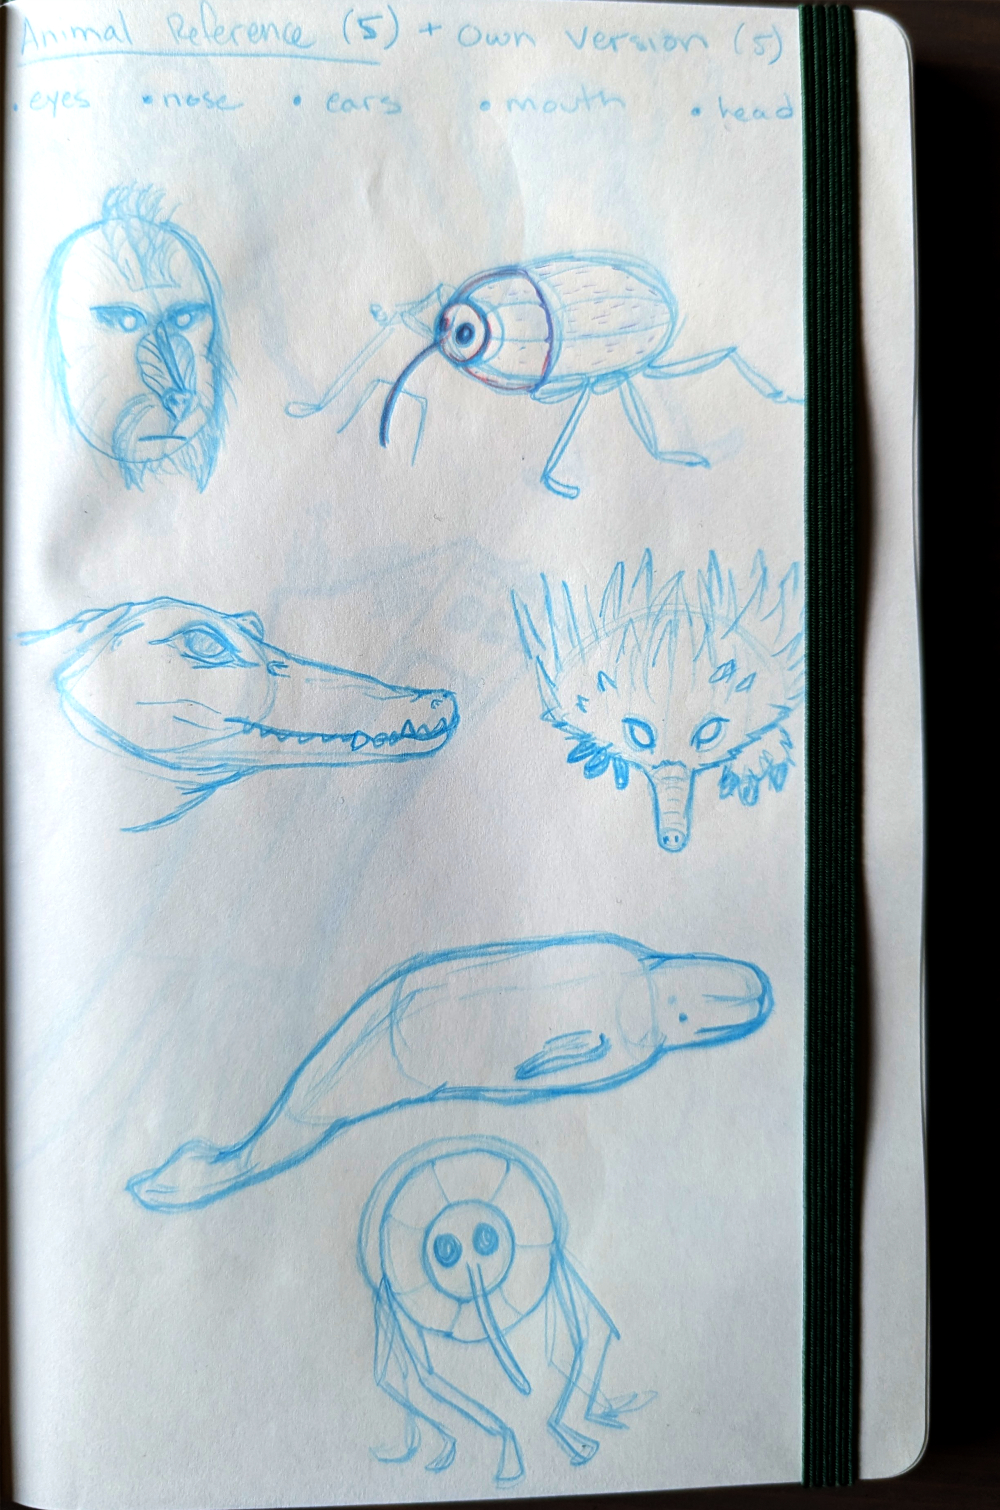
Did a few random animal sketches to warm up. Asking my girlfriend to name an animal, I would Google it, and then try to draw it. Resulted in some basic little guys but the animals happened to not have the easiest features to capture.

The bean approach
After spending some time looking at animals and trying to figure out what makes them stand out, it was time to get to the base of our future creatures; the bean bag. Or as I took to referring to it; the beans.
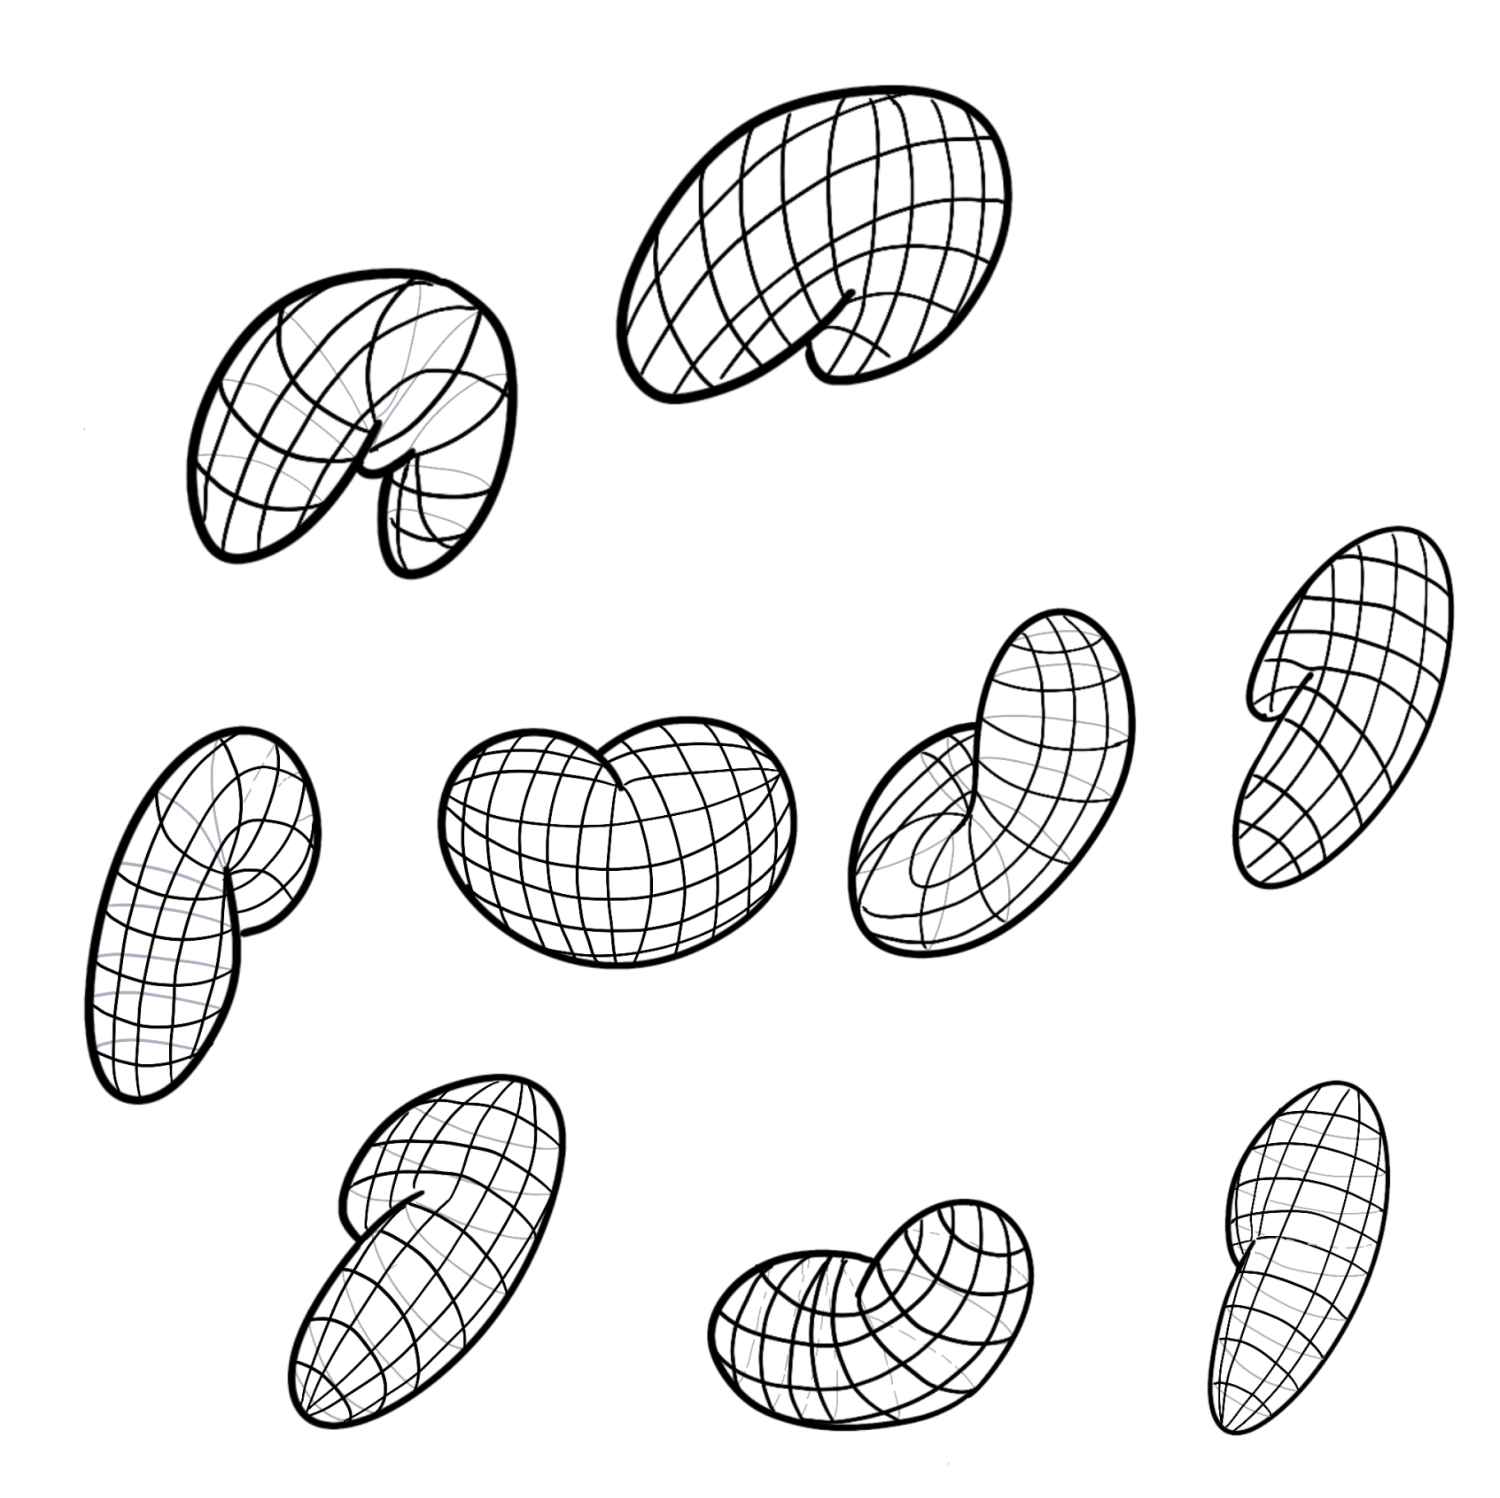
The exercise started off pretty simple, make some bean shapes and then draw contour lines around them to understand the 3D shape of the bean bag aka future creature. This is to help add the feature after and to just have a better grasp of the space being occupied by the bean.
I was pretty happy with my lined beans by the end of it.

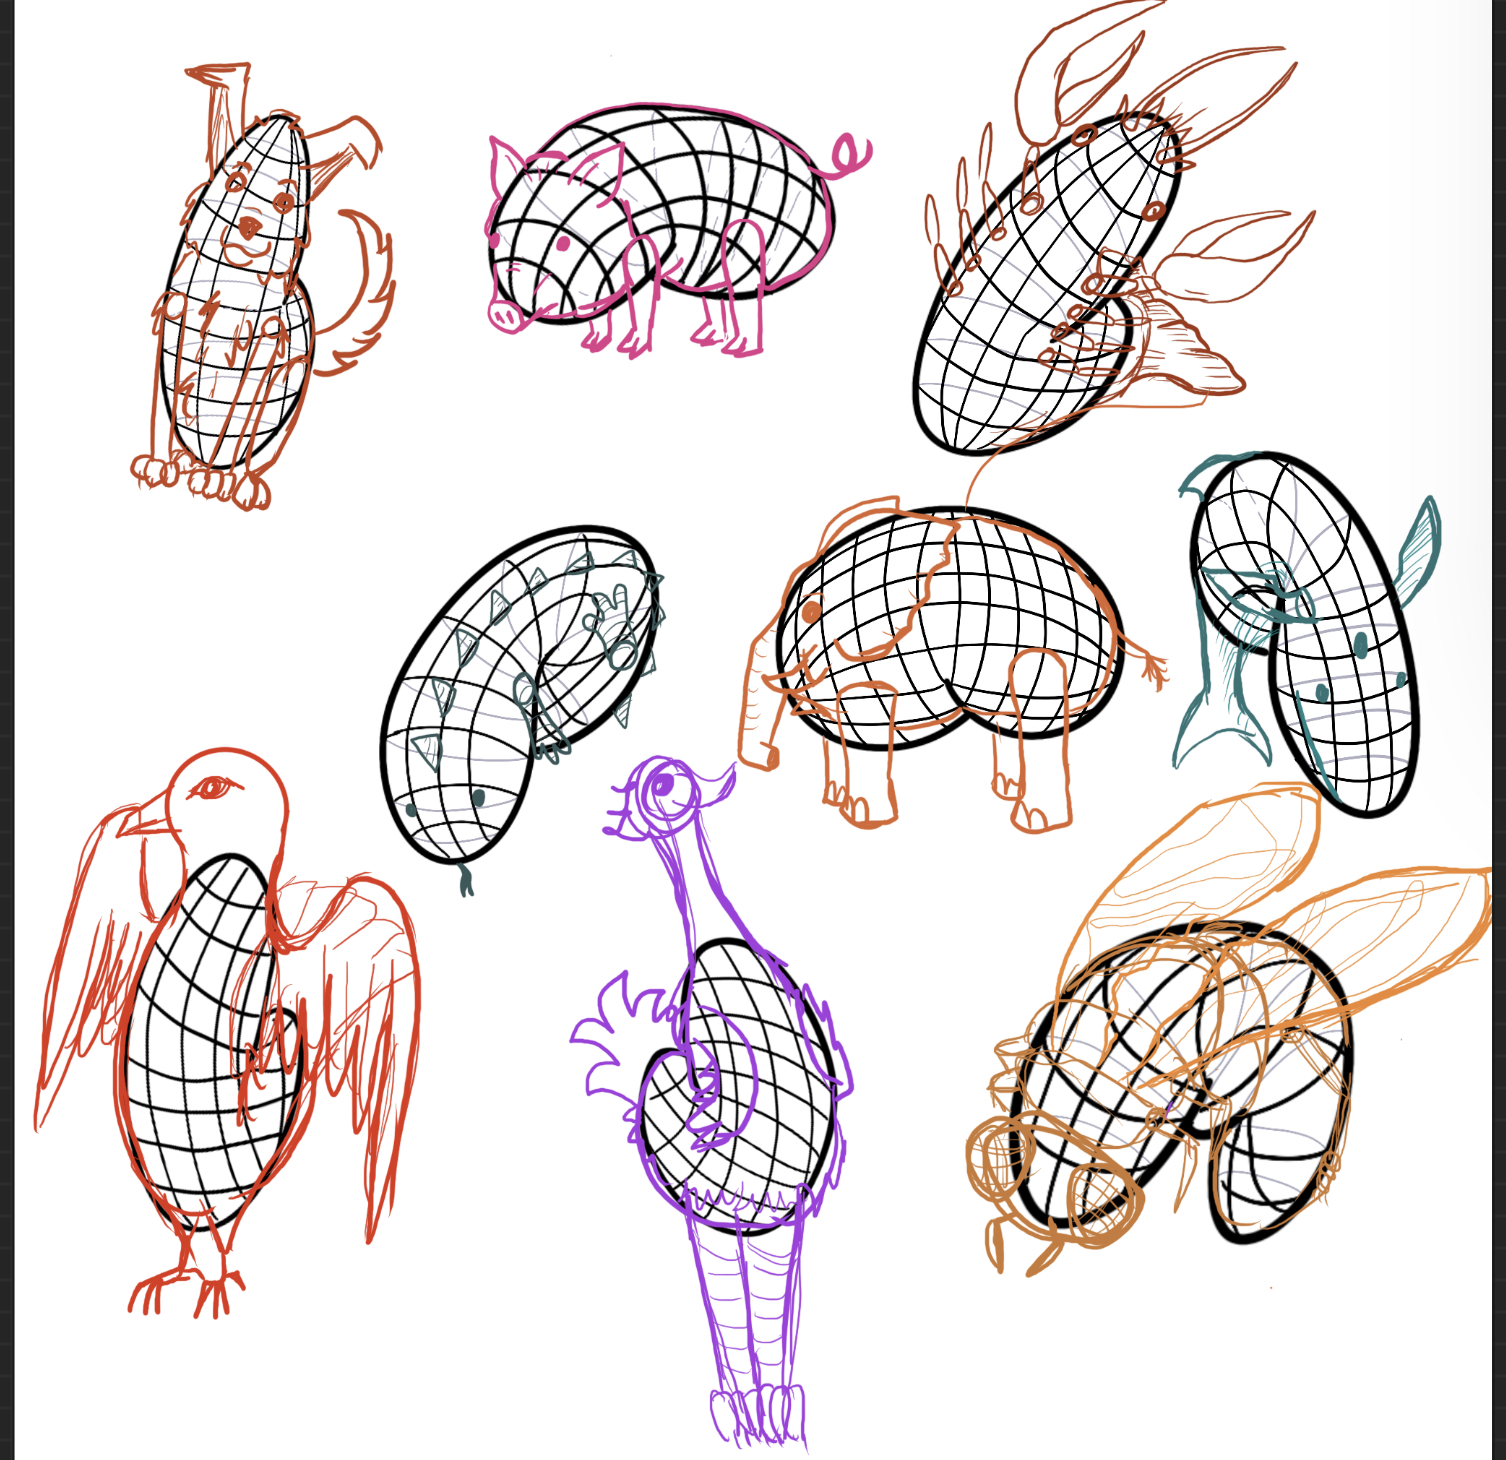
Next we moved on to adding the features. I tried to get as many random animal references as possible. Which resulted with me pulling cards out of this box’s ‘Biology’ section to get an animal at random. Some beans turned out better than others. But even the messy ones helped me realize how I’d approach that animal differently on a second go.

Technicalities of technology
The rest of the course was more focused on important information you’d want to know if you were to pursue digital art professionally. Rodgon went over file sizes, what they mean, when to save as certain file types and what to be aware of when designing for specific requests.
He spent a long time showing us his inking process in Adobe Illustrator which was rather eye opening to me. I’d only ever opened the program once or twice before and had no idea how to use it. Seeing how the inking is so different from other digital art programs was pretty inspiring. Looked like a fun way to approach the task. So it’s a shame I don’t ever see myself forking over the money to Adobe to try it out for myself.
Overall it was interesting to see a full piece come together that’s pretty different from the other lessons I’d followed so far that also included one piece going from sketches to completion. And I like how Rodgon shares super practical tips and approaches. Looking forward to drawing many bean shapes in my future.
A non art course interlude
So on top of trying to do 1-2 art courses a month, I have also signed up for a 5 week program on cephalopods. This is a weekly lecture through Atlas Obscura which I just thought would be fun. I also thought it would be helpful to learn more ocean creature facts for my Underwater D&D campaign. Which has already started to pay off.
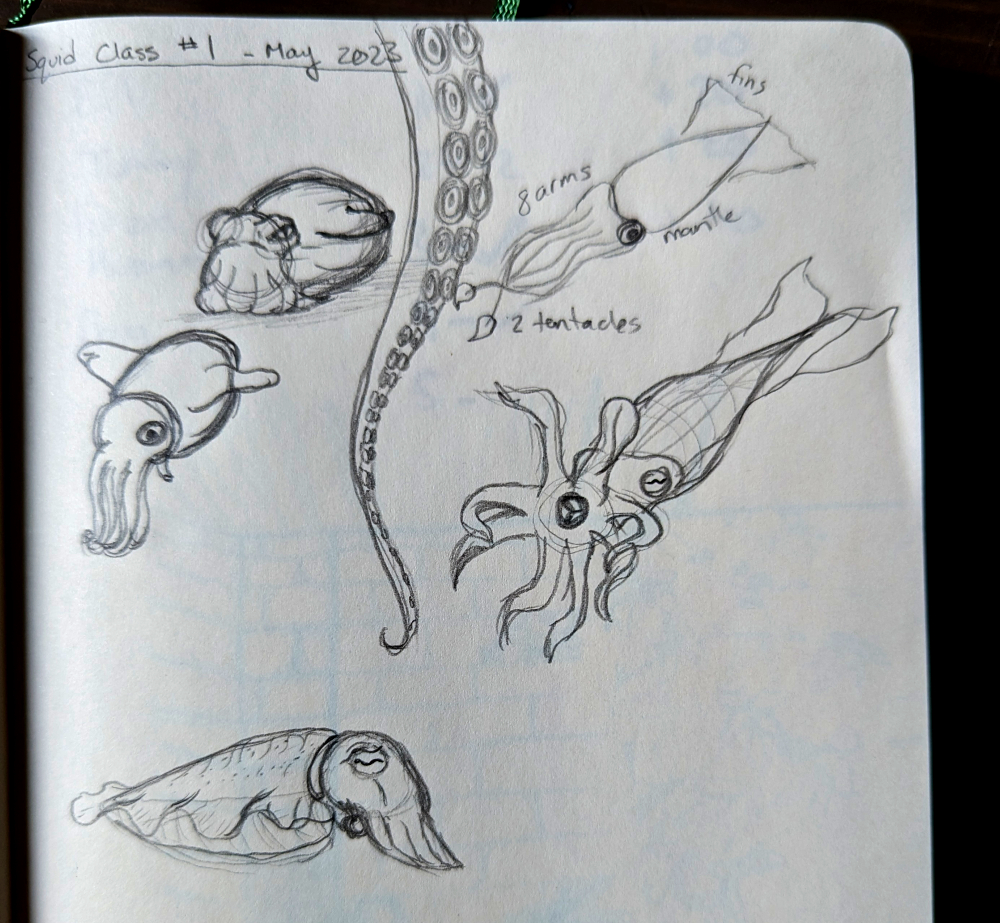
Instead of taking notes during the course I tried to focus on sketching some of the creatures the teacher shared. So these are my sketches from lesson one.

