April Art Projects
In April I went through the course ‘How to Stylize Characters’.
I wasn’t sure what to expect from this course. “Style” is a very nebulous thing, one that I’ve been told over and over again will develop with time and mastery of the basics. The course ended up focusing more on how you can work in different styles by taking different approaches and really iterating on your ideas.
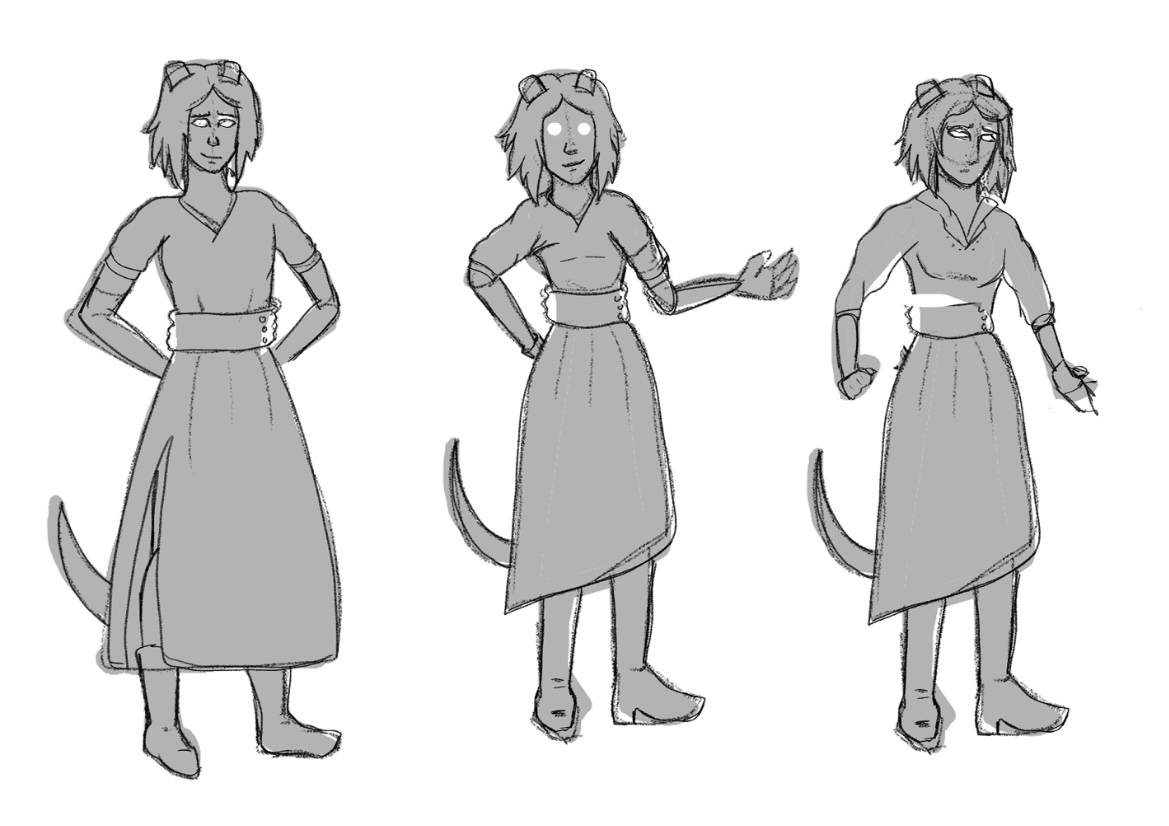
The teacher broke down each part of the course with very well focused assignments and practical steps. With the idea being to draw the same character to match two different use cases. He was working on developing a Frankenstein’s Monster character while I made the mistake of choosing one of my own D&D characters who I’ve iterated on a few times already. I say this was a mistake as choosing a fresh character would have given me more freedom to experiment instead of feeling locked in a previously established character design. But even with that mistake on my side I felt like I was able to learn a lot from the assignments.
Start with the basics
I went with the same use cases (aka briefs) that tee instructure went with as the two styles I’d aim for:
- A 2D childrens cartoon vibe
- A 3D more grown up cartoon vibe
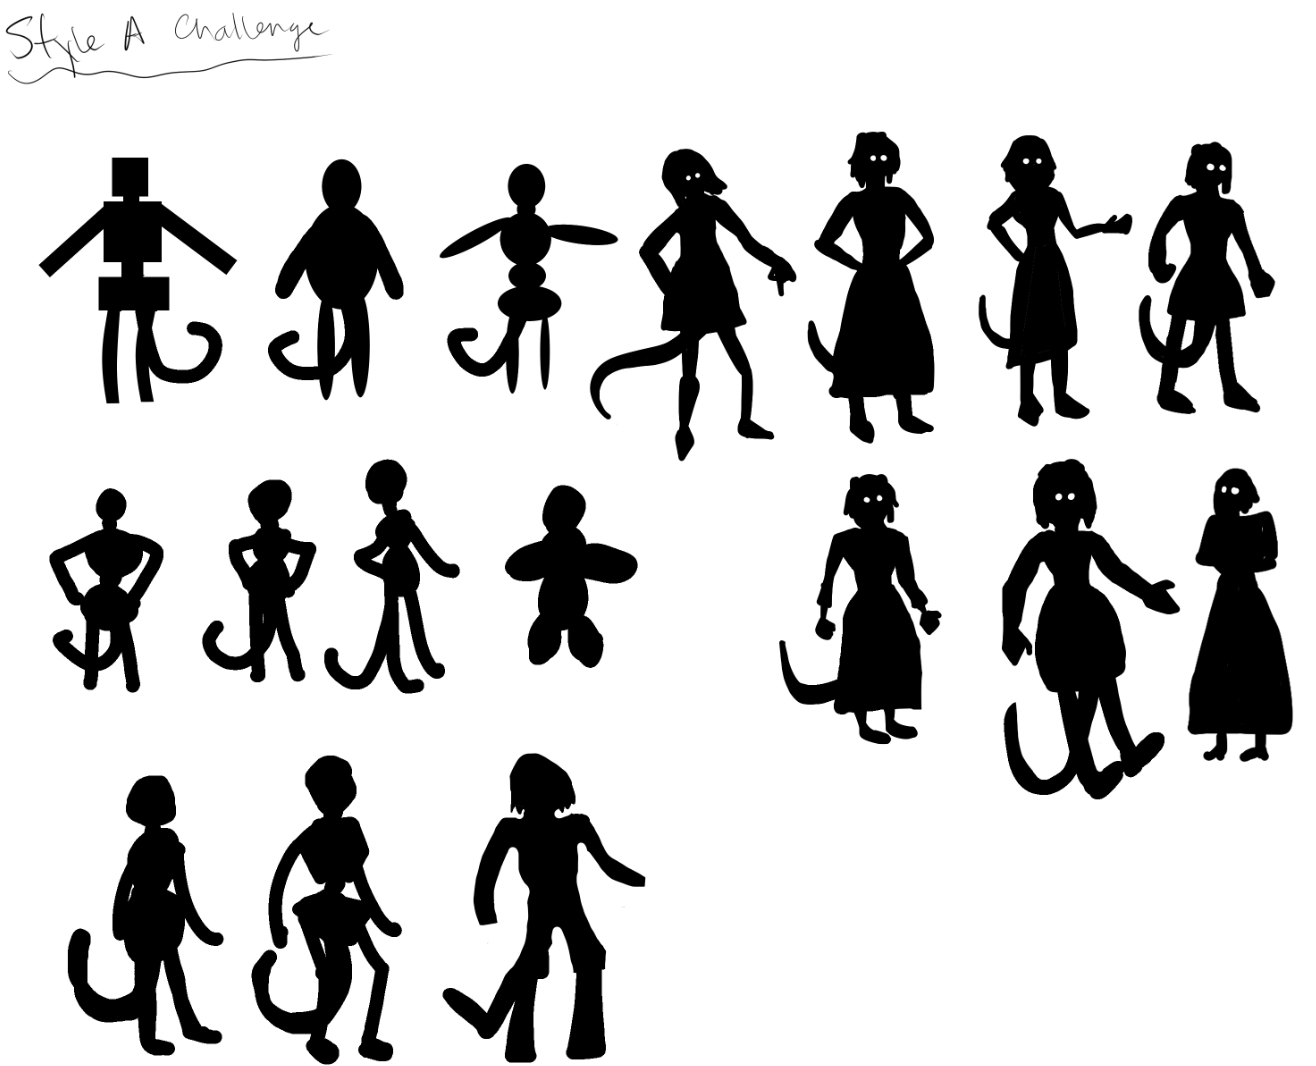
Step one was to do silhouettes. This built on the silhouettes covered in the previous courses, where you want to make sure your main character features are able to stand out even when working with a pure black silhouette. For the 2D version the focus was on working with basic shapes; circles, squares, triangles, etc. Then doing some simple shaping on those. For the 3D version the approach was more freehand, blocking out shapes with fewer restrictions and more details.

This process was really challenging for me, I felt like I struggled to bring anything unique to each new form. Hell, barely felt like I could make a decent looking basic shape, they all looked so awkward! But with a bit of extra refinement in shape, I was able to settle on 3 to take to the next step.

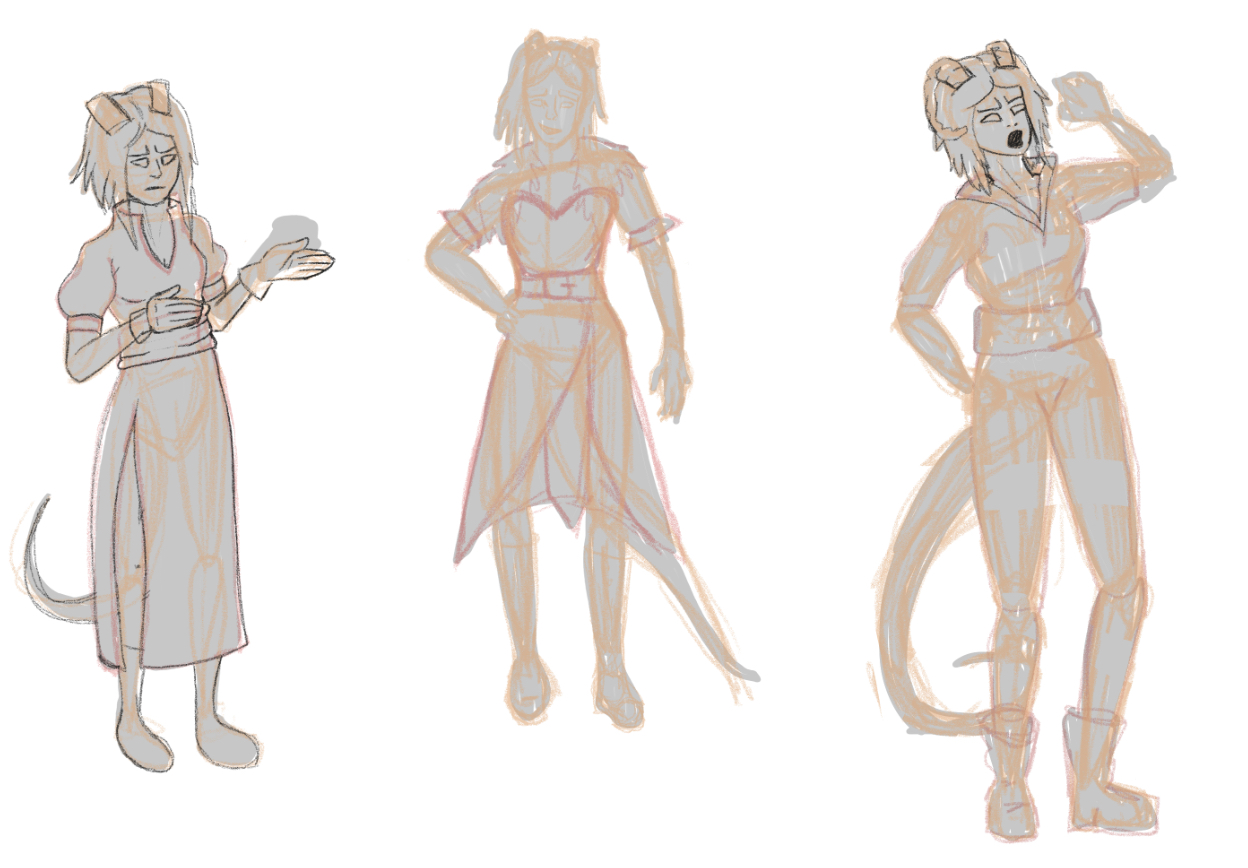
Onto Style B
With Style B being more free to freehand sketch I ended up falling into old patterns for this character. It was at this point that I felt like I had made a misstep in not choosing a fresh character to work with and didn't go much further with the exercise.

While I didn't take either of the styles to completion, this was probably one of my favourite courses so far. The differences between approaches felt unique, the process that was shown to iterate through designs, and how to mix and match pieces you liked all just made sense when seeing them in practice.
I can definitely see sitting down to go through this whole course again with a different character in mind.
On to the next one
After this course I was very excited to start ‘Creature Design’ because I have a list of creatures I want to sketch out for my underwater D&D campaign. However, this course ended up being more like ‘doing an illustration with a creature’ and less about how to strategically approach designing your own creatures. I gave it a shot by sitting through 1 of it’s 8 hours but felt like it wasn’t worth my time.
Feeling a little deflated by my first ‘DNF’ I didn’t touch anything for a few weeks. I've now found another course that's getting me excited to sit down and sketch so hoping to get back to more regular practice!
